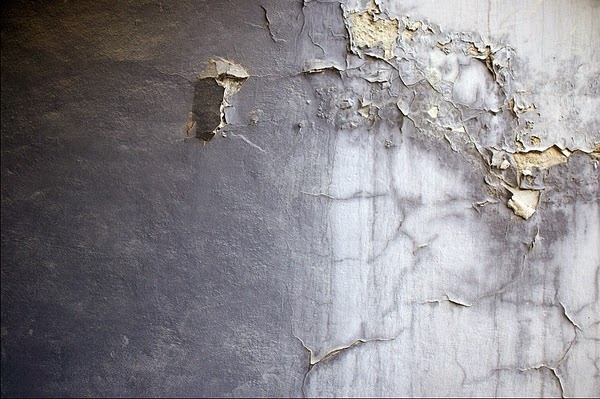
Do you feel like Frodo Baggins in Middle Earth the humidity with the walls of your house? We will explain step by step how to fix it.The humidity often cause a major headache when they appear in a space: the walls are crumbling, the paint color is altered and the room projects a drop in general. But besides a bad aesthetic effect, the consequences are more serious because it produces fungi and microorganisms harmful to health, especially for those with allergies. It is therefore advisable to treat the sooner the walls experiencing this problem.dampness in the walls.

The causes of their occurrence are varied, but the most common are leaks may appear because the insulation is not adequate for ventilation problems in closed environments where there is high water condensation as the sink or kitchen, etc..Although there are market specific products that allow us to remove mold and all the consequences caused by moisture , always it would be a temporary fix until you’ve solved the root cause of the entrance of moisture . If not completely eliminate the cause, whatever we do, sooner or later the same thing happen again.
After fixing the problem, we will recover and restore our wall with some simple steps explained below. What do we need to remove moisture from the walls?
mildew cleaner
h25 moisture paint (paint is waterproofing properties) or anti-mold additive h40
putty
fijalix fixer background
a couple of spatulas
brush or pallet
Drip nap roller
large bucket
rags
sandpaper # 220
plastic to protect the floor
1 – As always, first let’s protect the soil.
2 – Initially, we will work on chipped. Withdrawing with the help of the spatula , the paint that is loose and shabby. Finally, spend a cloth to remove any dust and paint on these chipped.
3 – After apply the fixative background with the brush chipped just over sanitized. The fixative is a water product that leaves a very thin wall which seals and provides good adhesion to the paint is then placed plastic.
3 – While the bottom dry fixative stains clean up moisture if you have mold. In that case, with a cloth, rub the product on the stain. We may also use chlorine or bleach applied with a sponge pure. But we will have better results with the product because besides attacking and cleaning up mold, prevent returning. In any case, before proceeding to the next step, you have to let it dry.
4 – Once dry the bottom fixer hidrolín, we will use the plastic putty over chipped to cover the gaps and level the walls . Drying time will vary depending on the amount of product that we had to put.
5 – Sand the wall to make it smooth and even.
6 – Paint the wall using paint h25 moisture . In this case we paint as usual, using the stirrer to cut and then passing the roller . Between the first and the second layer is necessary to allow a minimum of 24 hours. Paint antiumedad h25 is breathable, prevents passage of water but not the steam, reducing the hydrostatic pressure. All with a fine finish and large soft grip and washable. But we equally valid choice if we want to use, such as a colored paint and Export Titan is adding to painting the h40 Mildew Additive (2 blocks each 700 milliliters). This easy incorporation additive is used to impart properties mildew to any kind of plastic paint, either inside or outside. The addition of this product does not alter the properties or characteristics of the paintings and their fungicidal and algicidal effect is long lasting.
If you have any questions on how to apply the products you can ask on our desk , an expert will see you there.

0 comments:
Post a Comment