
Are you thinking about Christmas decorations for your house? Still time to raise some holidays without wasting energy . It is common in the December utility bills skyrocket. One of the major culprits are the lights of the Christmas decorations, but to save have no reason to give them up.
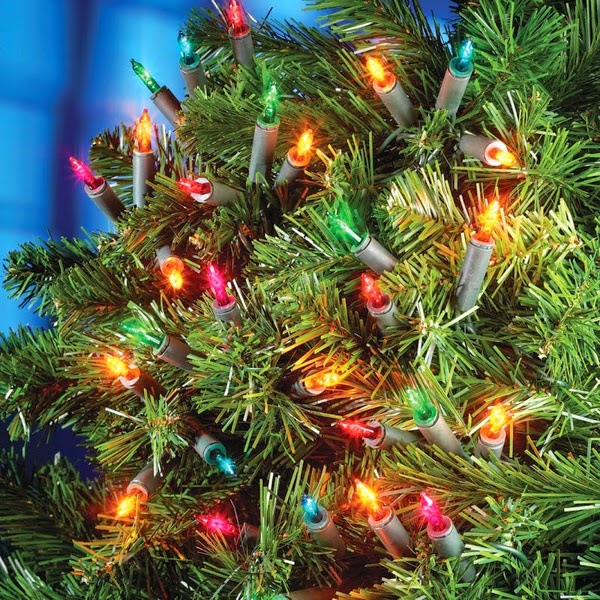
One of the most effective measures to prevent energy waste is to buy decorations with LED lights . Although they may be a bit more expensive, these bulbs can allow savings in excess of 50% in our consumption . Also, keep in mind that LED lights are more durable than traditional ornaments l that we buy will last us years.
The on time is another key element. Experts recommend that you unplug the Christmas decorations between 00 and 18 hours, thus avoiding unnecessary use. For this it may be convenient to use a timer , as we avoid oversights and concerns.
An important precaution, before ignition of our decor is sure to use quality plugs to prevent overheating . We must also avoid placing many lights in one home splicing device and that may cause a short circuit.
And if you want zero consumption should know that renewable energies have also come to the Christmas decorations. Although still not very common, you can find on the market lights solar-powered or rechargeable batteries used, for example, with Windchargers .
How to make a Christmas star with lights
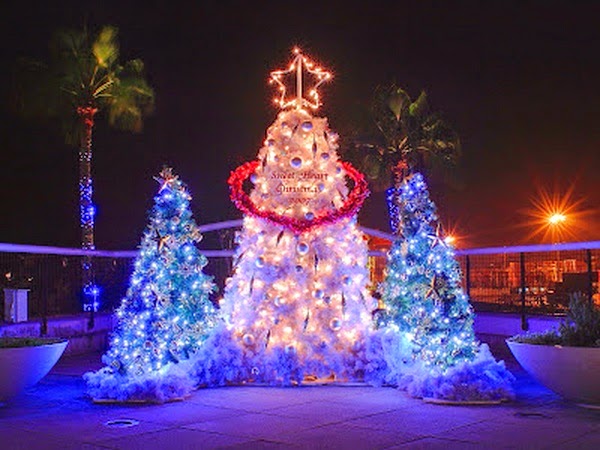
A star with light is a great decoration for Christmas which also can be used both inside and outside of your home, thus achieving a warm and festive look in any corner of your home. To make a Christmas star with lights , just make a sketch of the star using wooden rods , which can be covered with light -colored or white. Get it in a simple and fast!
Materials Needed
5 wooden dowel, about 60 inches
Black Ribbon
Tape
Links
First steps to get your star with lights
Cut a piece of duct tape about 2.50 inches . Place the tape on a flat surface, side sticking up, so you can put yourself in front and see vertically. Then place two wooden pegs from end to end at the end of the tape, leaving about 1.25 inches between the tips.
Now, you have to wrap the tape around the plugs completely encircled. Another piece of tape unwound and adds other plug timber to place the end of the first two, wrapping the two ends together. Repeat this process until you have a line of five points attached with tape.
Fold the ends
Bend the pin in the hole that is forming a star. To do this, you have to bend the first and third point , leaving the second straight pin through the bottom, making a U-shape ‘ . Then you have to cross the third to the first pin, forming a triangle. Then you have to take the fourth downward, crossing over the straight from the ‘U’. Finally get the final form of the star taking the ends of the first and fifth rods together.
Align the star with lights
Then you have to cover the ends of the first and fifth pins with black tape and then manipulate the rest of the pins so that each point of the star is even. Wrap the black ribbon around each point where the pins are cut and placed the ends of the lights of the string at the end of one of the points of the stars and use black tape to secure it in place. You must align the star with rope lights, making a twist tie to secure the rope to the star at the bottom of each point. And so complete your own star of Christmas with lights!


0 comments:
Post a Comment