
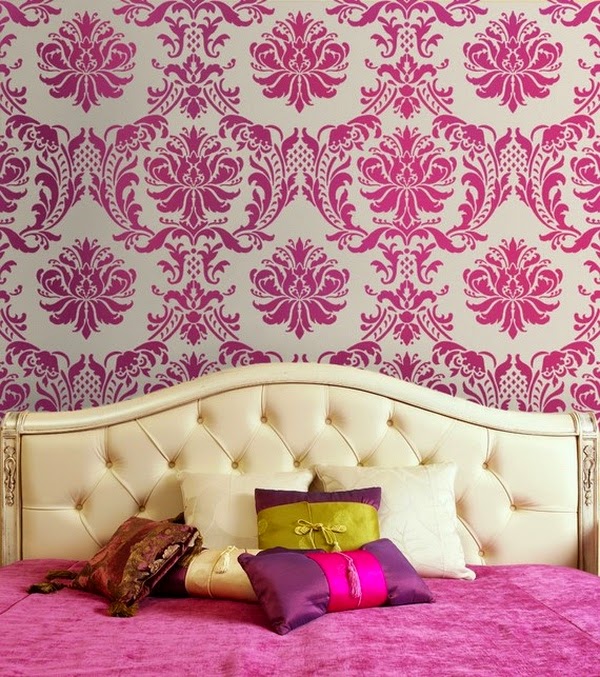
If you want to add life to your white walls, try wallpapering your walls with fabric in this case would entelar your walls! (See interior decoration ).
The placement of fabric on your walls is a simple process, in fact, like the wallpaper except you are using fabric and starch allowing you to easily remove and re-used if necessary.

Before you begin, decide that you would like to decorate walls in “cloth”. You want to cover the entire wall, or prefer only half a wall and applying a contour adjustment? You can create a collage of color and place a decorative frame around or use the fabric to create a wall mural. interior design
If you need to be aware of your budget, I understand that fabric prices vary and could actually cost a good amount of money depending on your taste – this can easily be remedied to some extent looking at fabric stores with discounts and clearance sales . The good news is that when the tissue is removed from the wall, all you need to do is wash it. So that you can easily re-used for another craft project!
With this in mind – here are some simple instructions to help you apply and remove the fabric.
Materials:
Fabric
Clean sponge or paint roller
Starch
Meter
Tape
Process:
Wash the wall to remove any dirt or film. Light fabrics like cotton polished, they are easier to use. Measure from the floor to the ceiling and add a couple of extra inches. Cutting the fabric according to size. If the fabric has a design, make sure to match the design before cutting the next panel as when using wallpaper. Pour starch into a clean pan or spray if you use a binder of this type. Starch is applied to the upper half of the wall with a painting pad or roller.
Place the fabric gently in place on top of the wall, leaving about an inch to cut later and pay special attention to that do not fit wrinkles or air pumps. Use some type of tape to temporarily hold the fabric in place. Apply more starch to the wall below as needed until it reaches the floor, leave approximately 4 cm overlap at floor level.
Applying starch to the top of the fabric, brushing and softening the tissue at the site to remove the bubbles and wrinkles. Make sure the starch penetrates the fabric evenly. Work your way through areas, continuing the starch sponge on the wall, smoothing the fabric and applying more starch. Place the second panel, so that it matches the edge design.
Repeat steps.
Around windows and doors, leave a one inch overlap as with the ceiling and floor. Overlapping tissue to be cut when the fabric is completely dry. Then cut easily and cleanly and any shrinkage will have occurred before cutting. To remove the wall tissue: Desgárrelo a loose corner, then gently begin to pull the wall fabric panel by panel. If the fabric is not easily pulls off, moisten the fabric with water using a damp sponge and it should come off easily. If you choose to cover your wall or only part full, you can enjoy the look of a professionally decorated room without the permanence of paint or paper hanging!.


0 comments:
Post a Comment